In this post I will describe how to install an additional operating system right into your current one, by using the free and open-source VirtualBox to install a Virtual Machine. In the end, you will have Windows 7 installed on your computer, residing in a window (or fullscreen of course) like any other application inside your operating system (be it Windows, Linux or Mac). Assuming you have a Windows 7 DVD or have otherwise aquired it, of course. Some parts will apply even if you choose to install a different OS.
What is it good for?
- It allows you to try out operating systems, or even betas of them without running a risk of making your computer unusable.
- Access applications that may not be available on your main operating system (Host).
- You’re free to experiment with the virtual machine (guest), your host system is always safe.
- If the guest crashes, the computer won’t have to reboot.
- Running two OSes simultaneously is pretty cool.
Just to clarify, the Host is the Operating System you already have and use. The Guest is the OS you’re going to install inside a virtual machine inside your host. The Guest is sometimes referred to as the Virtual Machine (VM).
0. Acquire a copy of the OS you wish to install.
This could either be a physical Windows/Linux CD/DVD or an ISO image (.iso file ending). Many Operating Systems are supported – you could even install an early version of Google’s Chrome OS, or the smartphone OS Android. However, Mac OS X isn’t supported – on the other hand that would likely be illegal anyway. If you don’t have an OS available for installation, you could simply grab Ubuntu here (follow step 1).
1. Install VirtualBox
- Go to the VirtualBox Downloads page.
- Download VirtualBox for your current OS.
- Install it like you usually install applications for your platform. You should be able to figure it out.
- Launch it.
2. Setting up a New Virtual Machine
At this point, you will have a window resembling the below image.
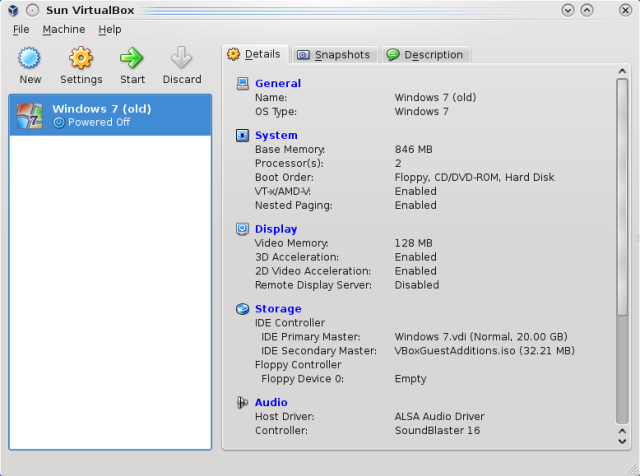
Your window will look similar to this now. However, your list will be empty and your OS probably has a different theme.
Go ahead and click New. A new, smaller window will pop up. Clicking next will bring us to:
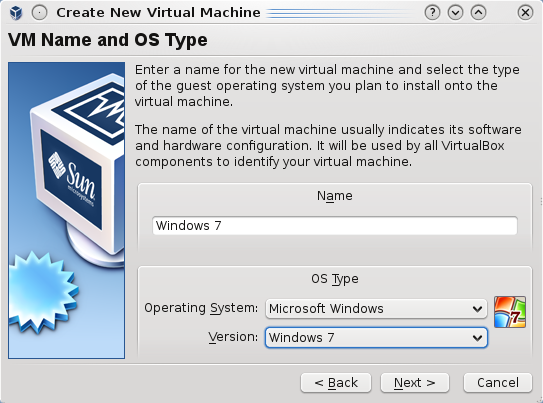 Make sure to pick the OS you’re going to install (Windows 7 if you’re following in my steps). Click Next.

Now it’s time to decide how much of your RAM (memory) you will dedicate to Windows 7 when it’s running. 1GB (1024MB) is stated as the system requirement by Microsoft, but even 512MB works. You can change this later if you want. I will take 1GB (however, that only left me 1GB for my host OS, not brilliant for my multitasking nature.). When you have decided, click Next.
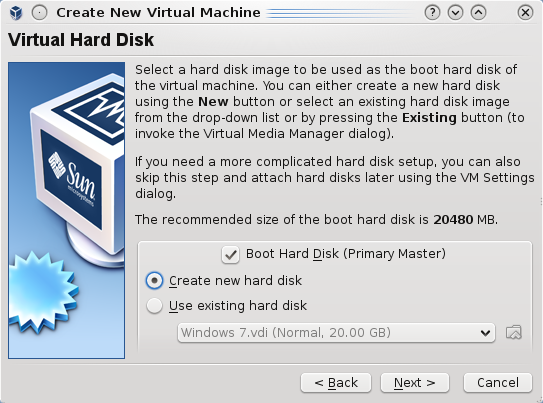 The Guest OS (Windows 7) needs somewhere to store itself. This time, you’ll want to Create a new hard disk. A new window will pop up. Click Next.
 Even though Fixed-size storage probably is slightly faster, I would recommend Dynamically expanding storage. That way, the size will grow when needed. About 6GB after your installation of Windows 7. Once you have clicked Next, you will be asked what you want its maximum size to be. Don’t be afraid to set it high, it still won’t claim more storage than it needs. A 40 GB cap isn’t an unreasonable amount, perhaps you should set it higher if you want to install a lot of applications. But you will be able to share folders/partitions to your Guest OS, which we will go through further down.
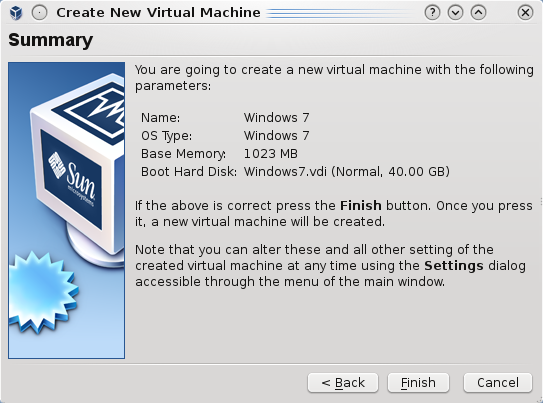
Now we've set up a Virtual Machine! Time to cram an OS in.
3. Install the Operating System.
Now it’s time to put that CD/DVD into the computer, or remember what folder that .iso is in.
You will have a new Virtual Machine entry in VirtualBox. Select it and press Start.

A scary window will present itself. It basically tells you that your mouse and keyboard will be stuck inside the Virtual Machine until you press Right Ctrl. There will be more of these windows. Next, the First Run Wizard will pop up. It will help you install an OS by letting you select the install disc:
 Locate the installation disc and click Next. Then click Next yet again at the summary.
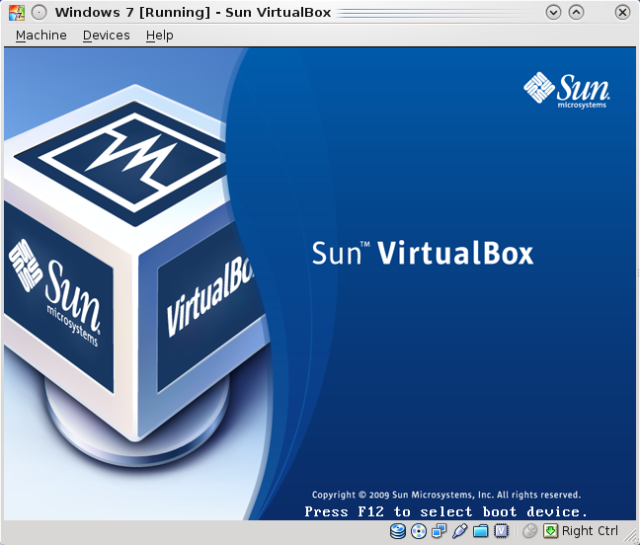 Now the Virtual Machine will boot up, much like any computer (except for a few more pop-ups, you’ll be acquainted with them soon enough). It will boot from the installation media you chose, and let you install the OS as normal, a section I won’t cover here. If you feel very uncomfortable with the OS installation process, there are plenty of tutorials on the web that covers it better than I would! But it’s simple, and you have nothing to fear.

Now complete the installation. This is going to take a great deal of time, so do something else. You could try my beta-stage Tower Defense-game.
4. Install Guest Additions
Before you think you’re all done, there is one more thing you’re likely to want to do. You should install Guest Additions because of:
- Mouse pointer integration – VirtualBox won’t need to Capture your mouse any more, which will let you switch between host and guest far more smoothly.
- Support for 3D-acceleration and DirectX/OpenGL. [experimental]
- You will be able to resize the Guest to an arbritrary resolution, just like you would any other window by dragging in the corner.
- You will be able to share folders from your host to the guest. The Windows guest will even be able to access ext3/4 partitions on your linux host.
- Better performance
Basically a near-seamless integration between host and guest! Lovely! I find VirtualBox a cumbersome experience without it.
The VirtualBox Manual states that we will need to boot Windows up in Safe Mode to fully install the Guest Additions, otherwise Windows won’t let us replace some system .dll’s – leaving us without Direct3D acceleration. There is some controversy around this, however; some people say that safe mode is not required, but let us take the sure way:
- First, I will advise you to unmount the installation media first (otherwise you might end up in the CD’s Advanced Boot Screen, which is not what you want!). To unmount, click the little CD-icon
 in the bottom of the Virtual Machine window and uncheck.
- Boot up in safe mode. Start the VM (guest) and Press F8 repeatedly until you get to the Windows Advanced Boot Screen. You might need several attempts.

Pick Safe Mode
- Click the Devices menu at the top of the VM window,
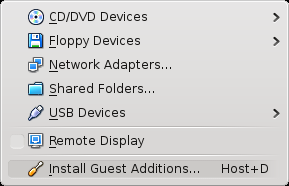 and choose Install Guest Additions. If it doesn’t autostart, go to Computer and double-click the Guest Additions CD. A standard Windows install wizard will pop up. Just click next through it (and accept and read any pop-ups), but don’t forget to check Direct3D support if you want it!
- Reboot the VM when it’s done.
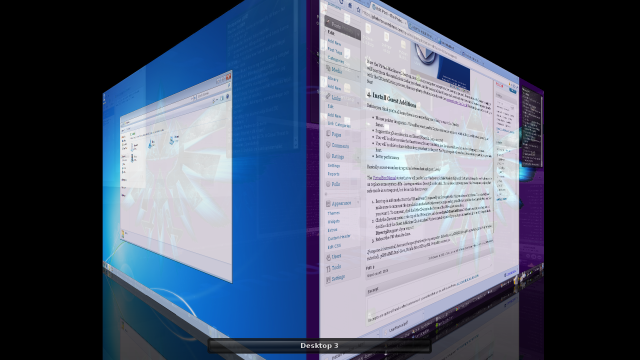
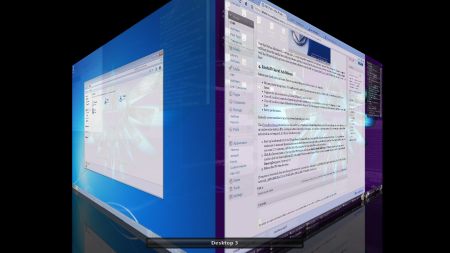
Windows 7 on the left, and Kubuntu 9.10 to the right. Lovely!
5. Setting up a Shared Folder
A shared folder will allow you to access all your documents, photos and other files on your computer, through the Guest.
- Shut down your Virtual Machine.
- Select it in the VM list in VirtualBox, and click Settings
- Choose Shared Folders:

- Click the + [Folder] icon in the upper right corner.
- Select which folder you wish to share. This could be C:\ if you use a Windows host, name it, and click OK:
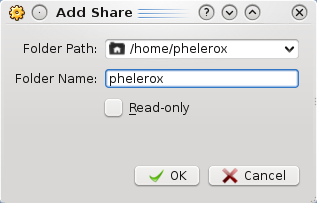
- Click OK again and start the Virtual Machine.
- Once Windows 7 is booted, open up Computer, right-click Network and choose Map Network Drive:
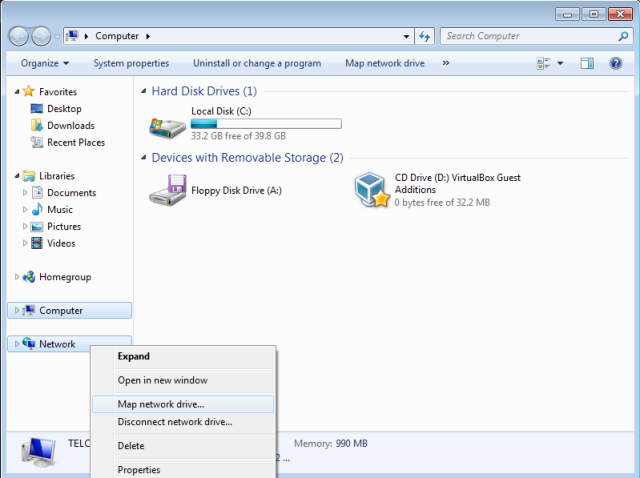
- Now type in \\vboxsvr\<folder name>, and make sure Reconnect at logon is checked. Click Finish.
 Now you know how to gain access to all files on your host!
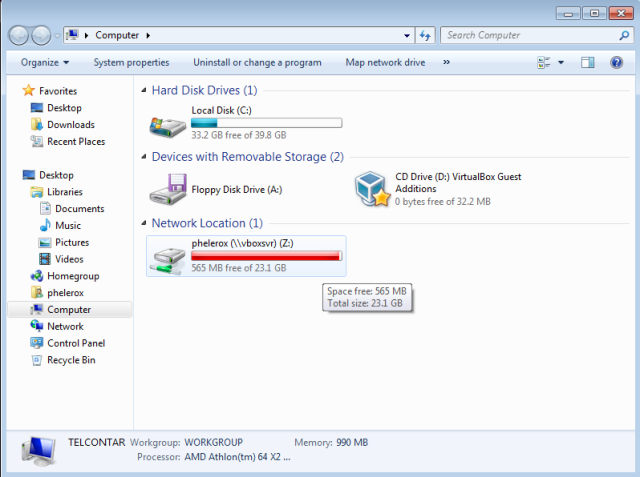
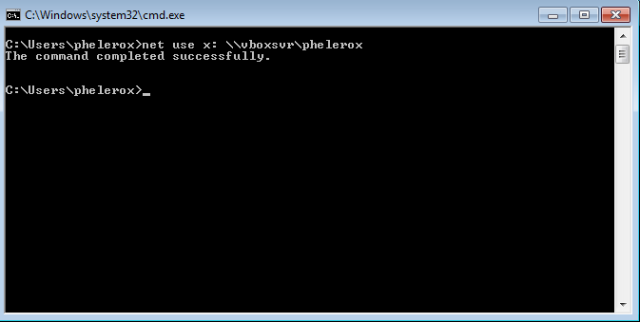
Another way of doing step 8:
- Open up Run (Windows key + R)
- Type in cmd and press Enter.
- A console window will pop up. Type in net use x: \\vboxsvr\<folder name>
Summary
You now have Windows 7 installed inside your host! From here, you can install the programs you need in your Guest. Although, game support appears quite flawed – but some games work and you may be lucky! I haven’t tested gaming thorougly.
You may also want to play around with the VM settings. You could optimize or make sure 3D/2D hardware acceleration is enabled. I won’t guide you other than saying that foo, bar and foo2 should be disabled in your Windows Guest. (update coming when I have looked up what they’re called)
If anyone is interested, here are the specifications for my computer: Kubuntu 9.10 32-bit, 2GB RAM (although I upgraded to 4GB while authoring this tutorial), 3GHz AMD Dual-Core, Nvidia 8800GTS 640MB. VirtualBox version 3.1


